
 Using Fimo soft molding clay is a great and easy to way to bring your ideas to life. While shopping one day, my mom and I came across some small wooden pumpkins.
 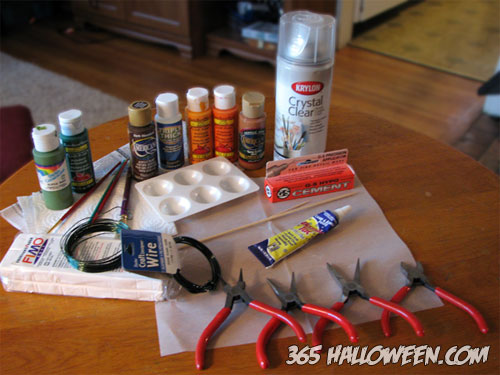 She instantly said I could make them and encouraged me to go out that very day and buy my supplies. Whittling a pumpkin out of wood is far from my artist talents, so I used a medium that I could sculpt with my hands and minimal other tools.
Your pumpkin can be any size. Though the bigger the pumpkin the better it will hold up your picture. Mine are about 1 1/2 to 2 inches tall. One small package of Fimo will yield a perfect size pumpkin. I use white clay because I like to paint my pumpkins after they are done baking. If you would rather not paint them, you could instead buy the orange tinted clay.
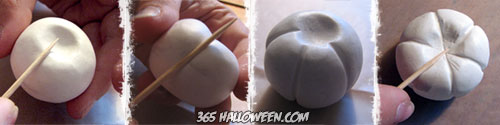
To start, roll your clay into a ball. Then, press down on the top with your finger to give a slight dip, like all pumpkins have at the top where the stem is. Our pumpkins won’t have stems, but instead will have a metal coil to hold a photo. You will next need a toothpick. Start at the very top and press the toothpick down to the bottom, using the sides and not the pointy end. This creates the ridges. Continue this around the pumpkin until you get your desired look.
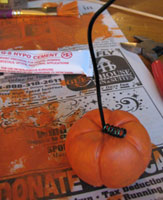
 Next you need the coil. I use a 16 gauge crafting wire to do so. Using needle nose pliers, you will clasp the wire at the very end and twist the wire around itself. Cut it off at the desired length.
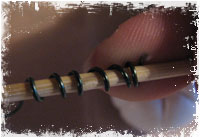
To make the little coils that come off the stem, I use a kabob stick, and twist a 26 gauge green crafting wire around it. Leave a small amount of straight part at the end to stick in the pumpkin.
 Before baking, make sure to create the holes that the wire will go in. Do not bake with the wire in the clay. Make sure you allow the Fimo to completely cool before painting or gluing in the wire. If you are going to paint the Fimo, then I would wait until you are completely done painting before you glue in the wire. I generally use acrylic paints.
 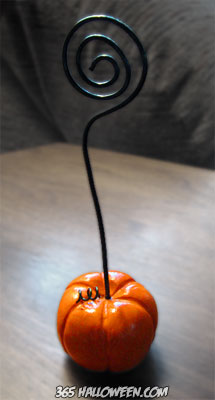 When gluing, I use a metal glue or multipurpose permanent craft glue. You want it to be as strong as possible so it can hold up its picture.
Once you are done painting and your wire is glued in, use a sealer to hold in the paint and make it more durable. There are many different sealers you can use, and I have yet to experiment with all of them. There are spray sealers, paint on sealers, and sealers that are made especially for clay. Then you also have your choice of matte or shiny. I like the shiny and spray on sealers.
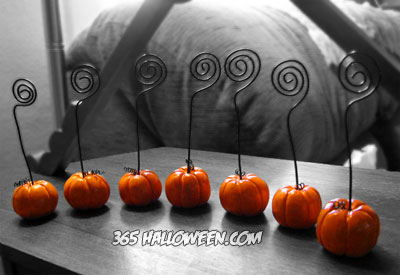
In the end, find your spookiest pictures and display for the world to see!
Tutorial and photos submitted by Jill King. Thank you, Jill!
What a idea for any event especially thanksgiving and halloween!
on October 23rd, 2008
this is a great idea for my wedding which is halloween themed. they are perfect place setters for the tables. thank you.
365 Halloween Response: You’re very welcome, Erica, and congrats on the wedding!
on September 16th, 2008
VERY cute idea! Thanks for the easy and quick tute!
on October 16th, 2007
what a cute idea – thank you!
on October 14th, 2007
Punkins rock! Your Tutorial rocks!!!
on October 4th, 2007
Thank you so much for posting this. It’s a great project and an awesome tutorial!
on October 4th, 2007
[…] fun and fabulous folks at 365Halloween have posted this cool tutorial for making pumpkin picture holders out of Fimo clay. While I think they’re great for […]
on October 4th, 2007